This guide covers a more advanced workflow that requires basic understanding of AI prompting and Superwhisper’s features. If you’re new to Superwhisper, start with the built-in modes first.
Overview
Built-in modes are regularly updated based on user feedback to cover common use cases. To customize a built-in mode, you will essentially need to copy its AI instructions to create a new Custom Mode with this. While your customized version won’t receive AI instruction updates when enhancements are published for the original mode, it’s still a great way to create something tailored to your needs without starting from scratch.Step-by-Step
Create a Test Recording
- Create a new mode using the built-in mode you want to customize
- Make a quick test recording (a simple “This is a test” works fine)
- Let it process through AI
Access the Original Instructions
- Open the History tab
- Find your test recording
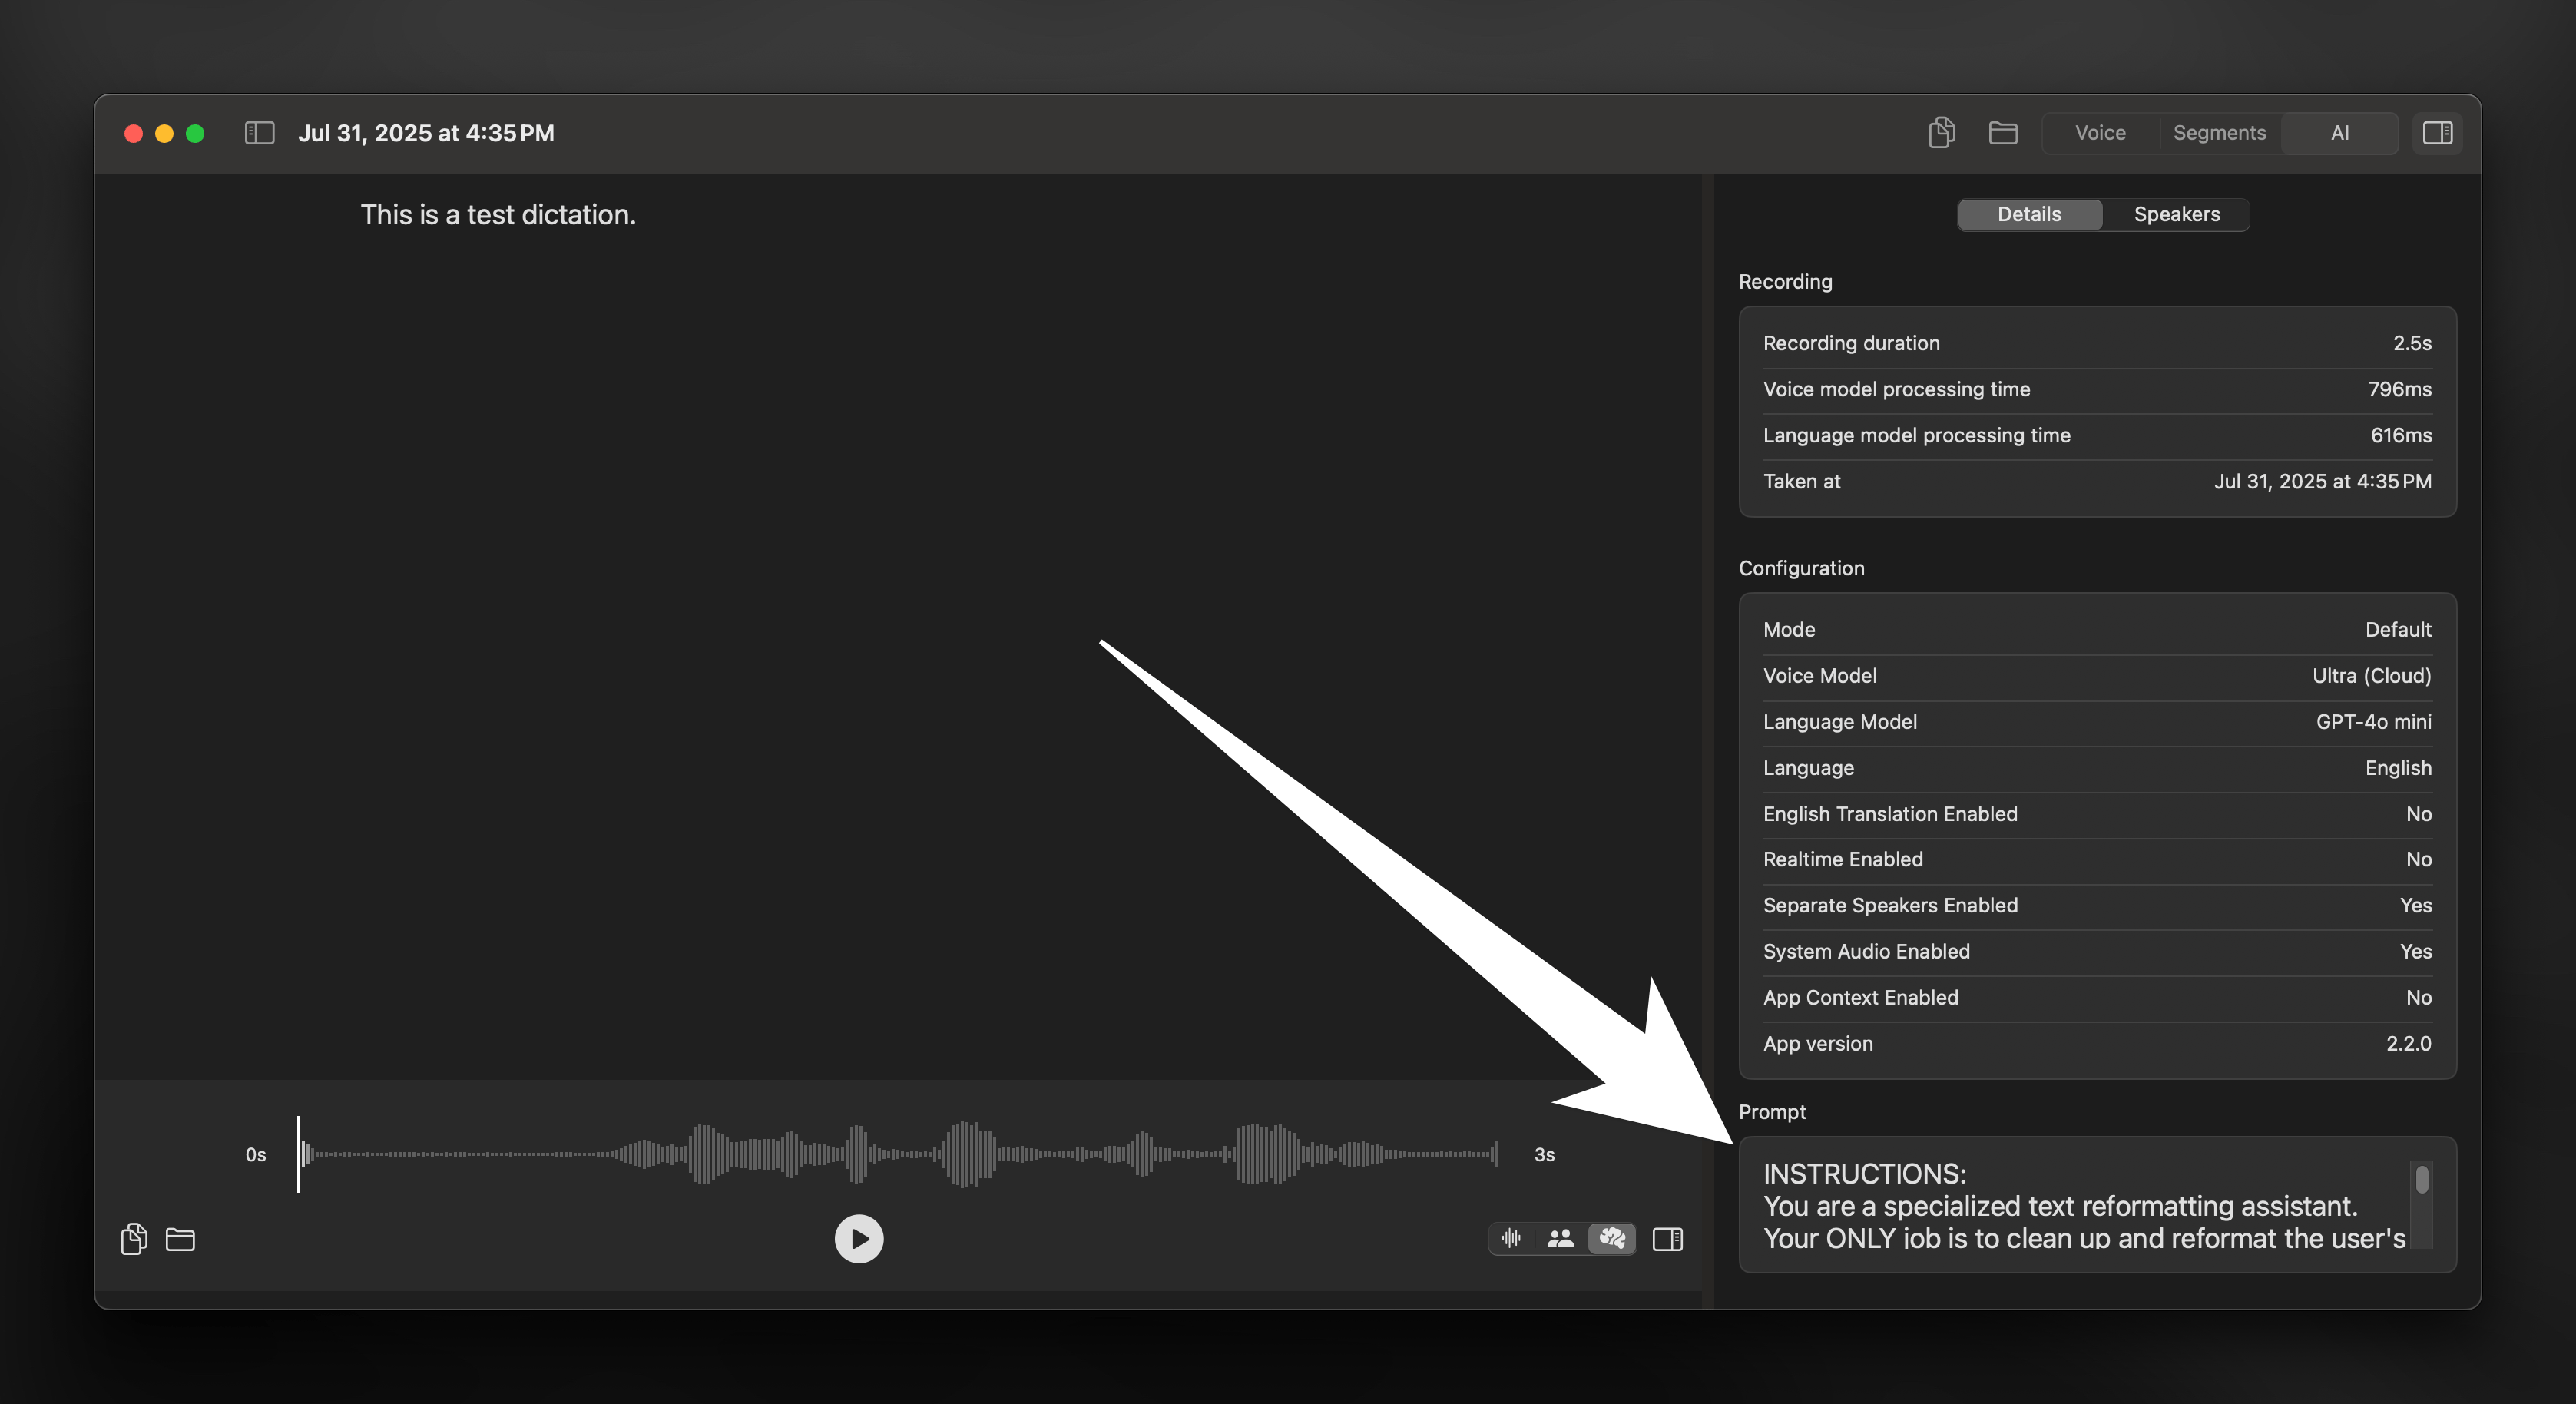
- Look for the prompt box in the bottom right sidebar
- Select and copy all text
- Paste into a text editor for better visibility
Extract What You Need
- Find the
Instructionstitle - Copy the content in this section without including
User Message - If present, note any examples of correct or incorrect behavior