Documentation Index
Fetch the complete documentation index at: https://superwhisper.com/docs/llms.txt
Use this file to discover all available pages before exploring further.
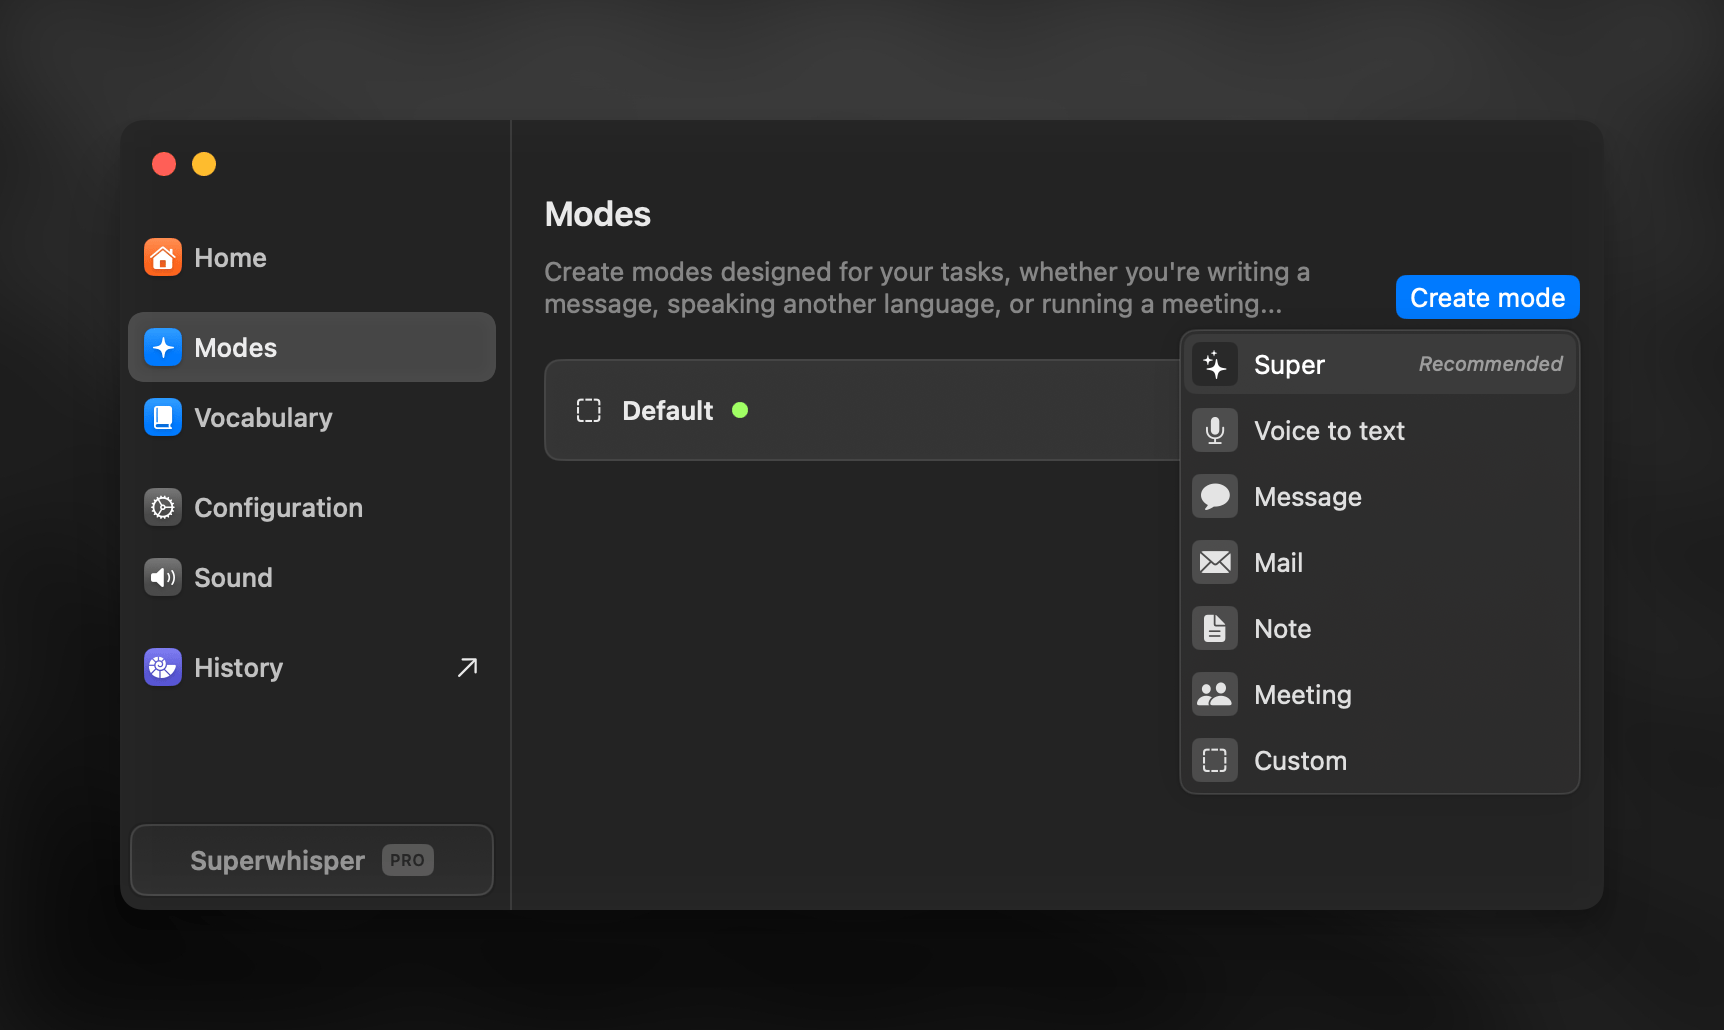
Per-Mode Settings
Voice Processing
After dictating, your audio first goes through voice processing for transcription.Set your Language
- Supported languages vary by voice model
- Based on your chosen language and voice model, you may see an option to translate your dictation to English. For best results with this option, use Pro, Standard, or Ultra models
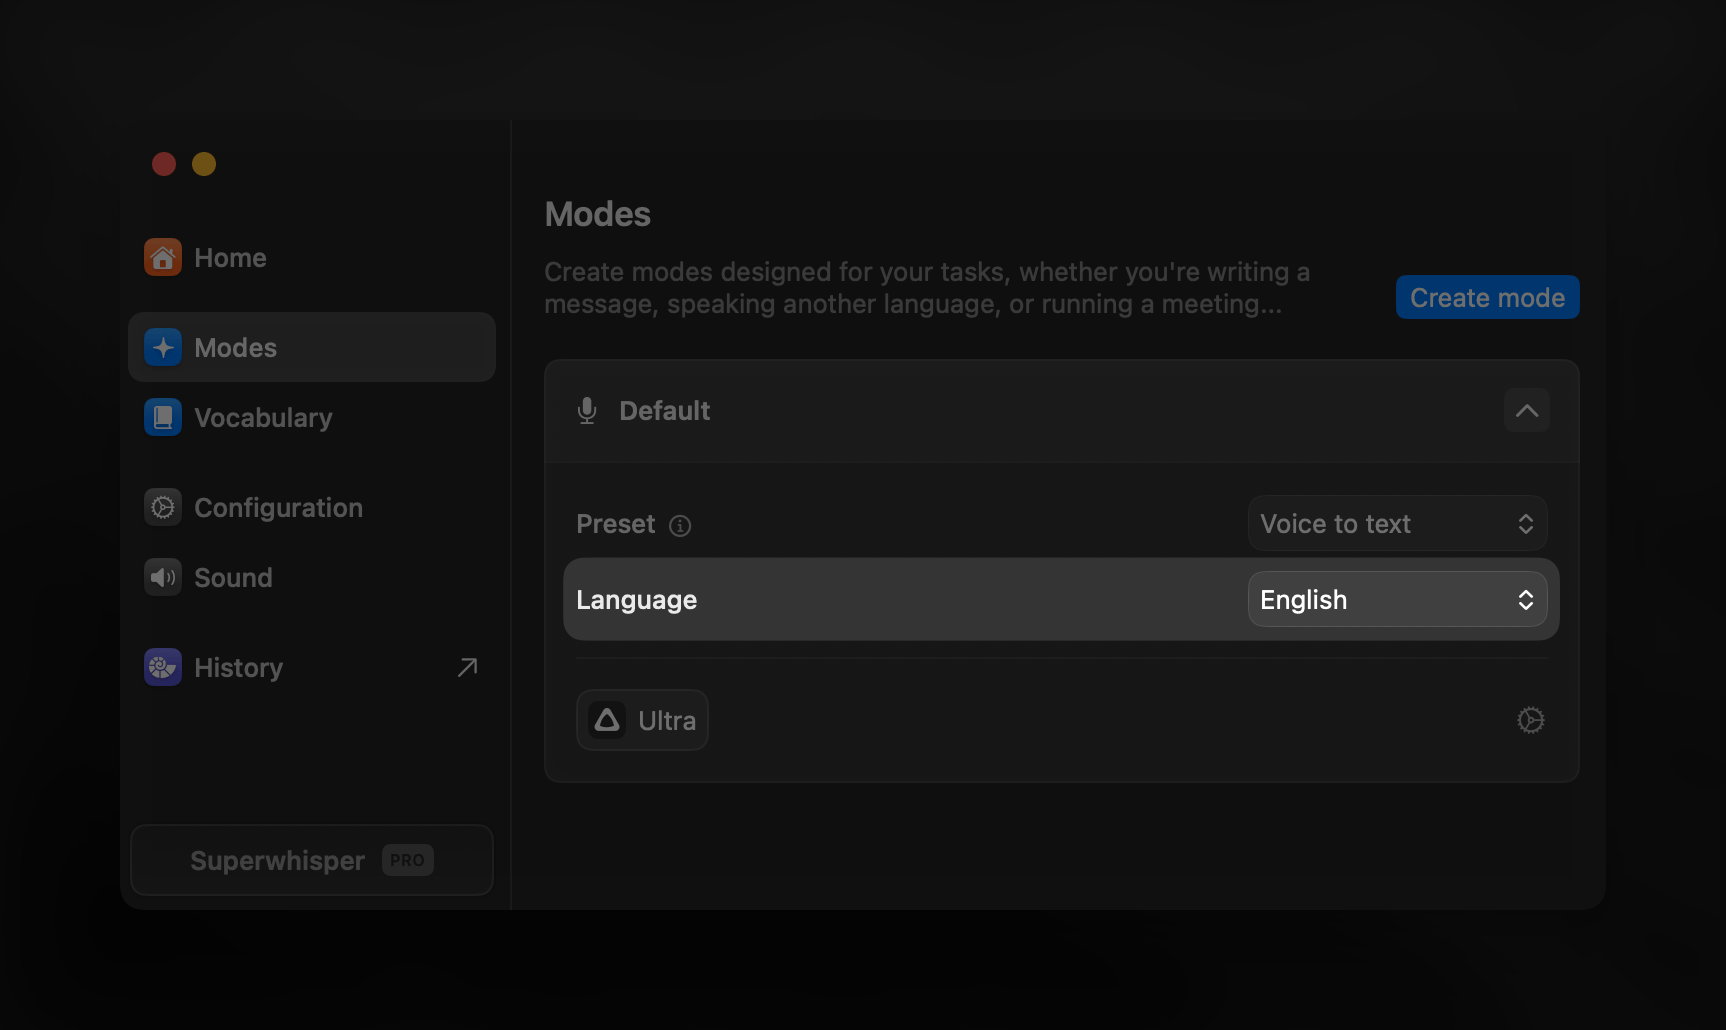
Your preferred voice model does not support translation to English, or you need translation to another language? Set this up with AI processing by creating a Custom mode
Auto-Activation Rules
While in the Advanced Settings sidebar, you can set up rules to automatically switch modes based on your active apps and websites.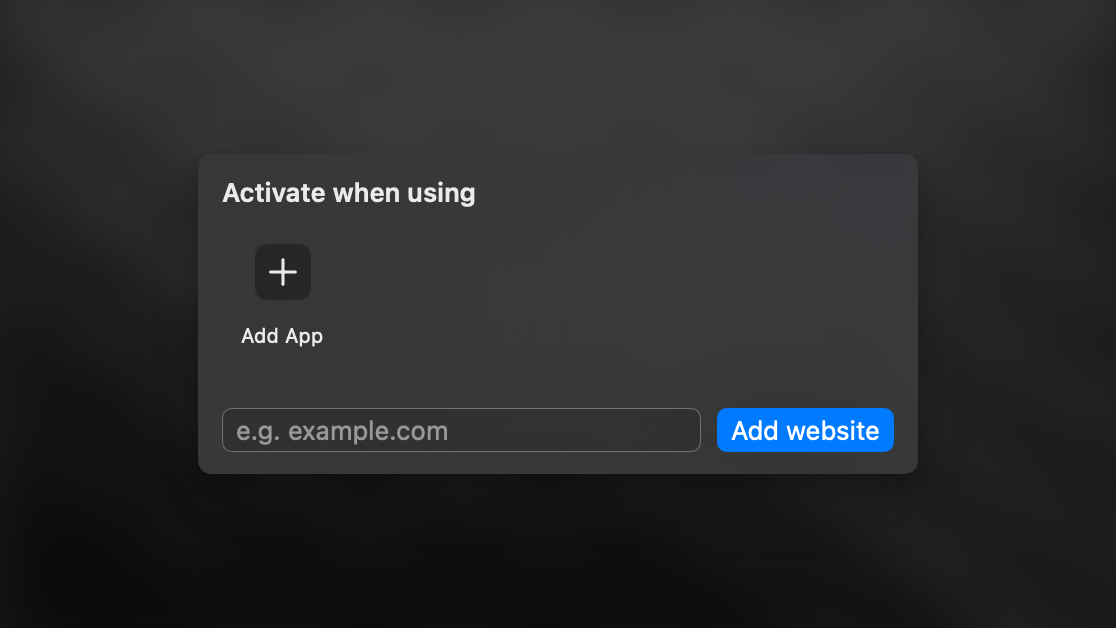
Keep in mind: Once a mode activates for an app or site, you won’t be able to override it, and the system doesn’t automatically switch back to your previous mode.
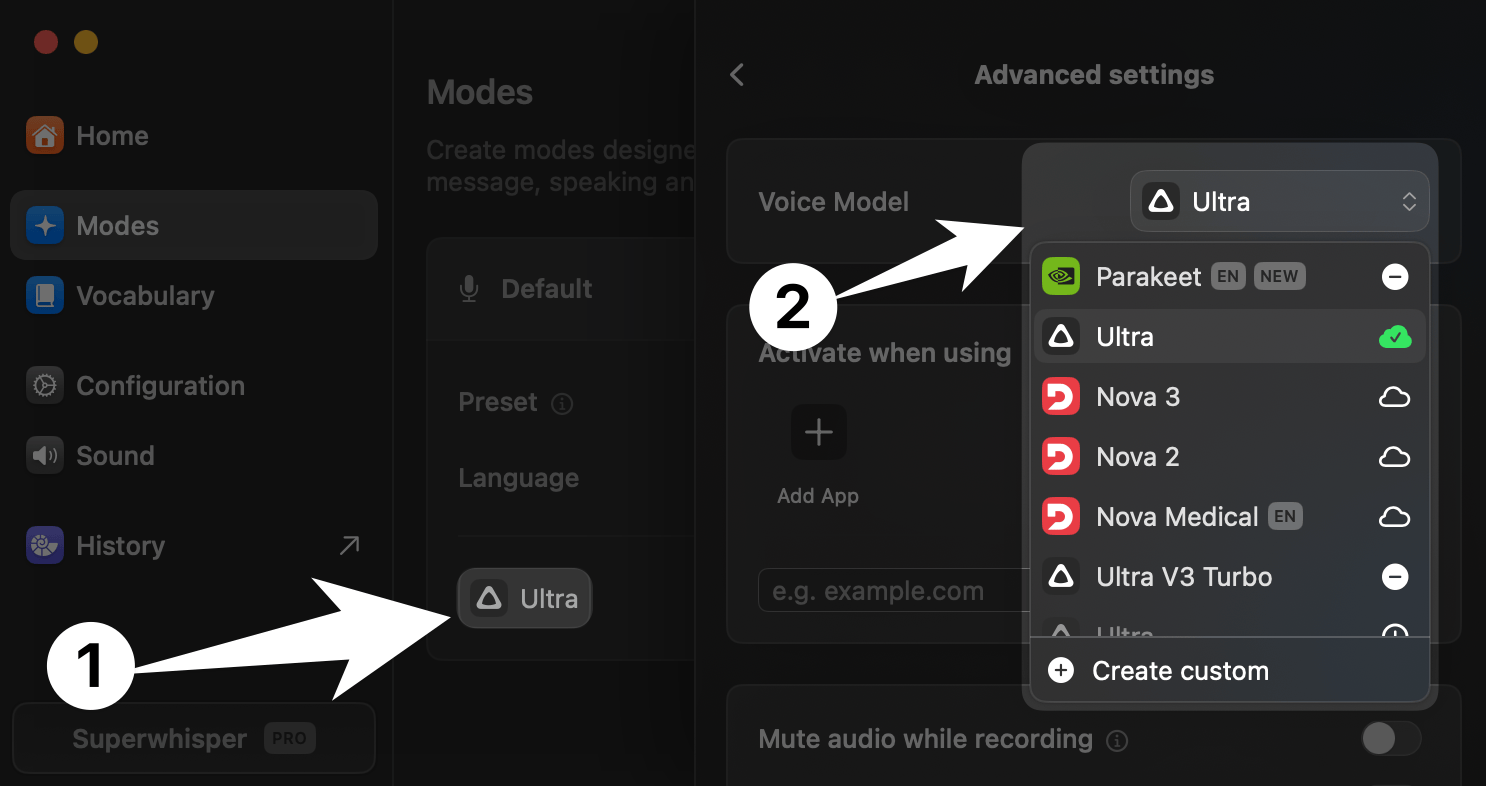
Advanced Settings
Belo the Auto-Activation Rules, you can select how your audio is handled during dictation.- Mute Audio While Recording
- Pause Media While Recording
- Record from System Audio
- Perfect for meetings, video content, interviews, or live audio coming your speakers
- When recording system audio, the waves on the recording window do not move. You can always check Superwhisper’s history to verify capture
- Identify Speakers
- Useful for meeting transcriptions
- Speaker separation results appear in the Segments tab of History
Speaker-separated transcripts won’t process through AI automatically within the same mode. See this guide on handling multi-speaker transcripts with AI processing.
AI Processing
After transcription, AI processing shapes your text based on the mode’s purpose.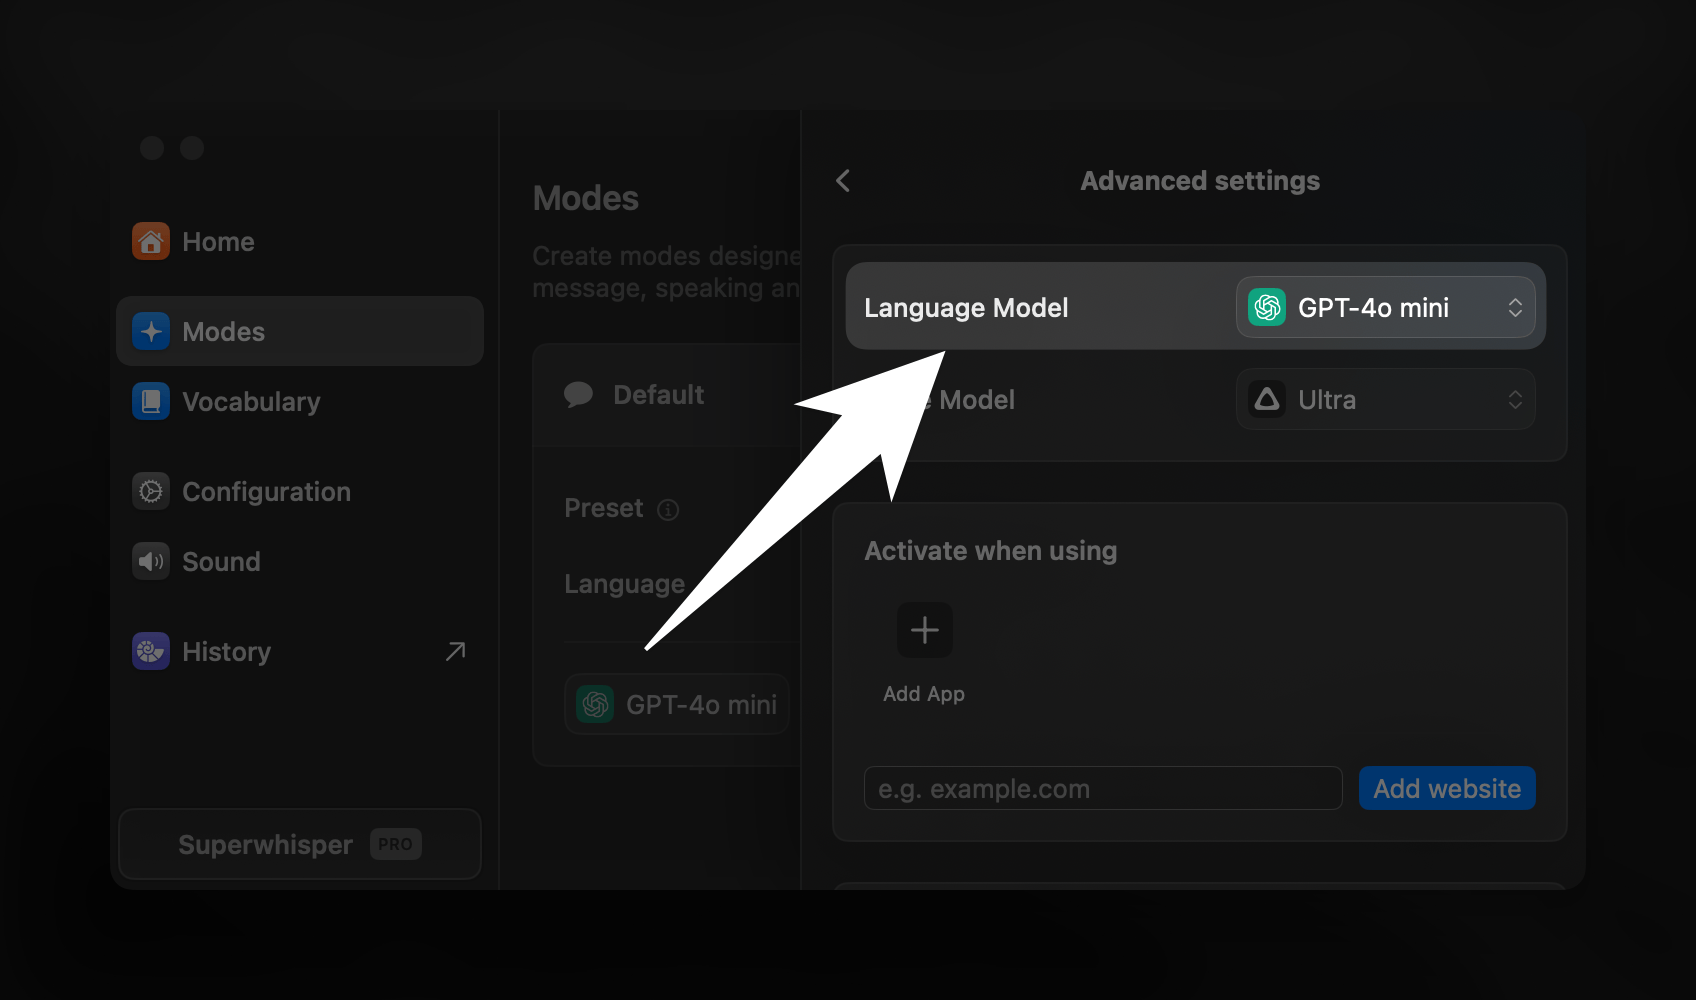
- Access and manage AI models in the same Advanced Settings sidebar, above the selected voice model
Make sure you have selected a mode with AI processing to see this option
- Built-in modes AI processing support multiple languages automatically
- Make sure to select your correct language in the Voice Processing settings
- AI will process your dictation and respond in your chosen language
- AI processing varies by mode
- Voice to Text does not include AI processing
- Message, Email, Note, Super, and Meeting modes use optimized AI processing instructions to deliver the best results for their specific purposes
- Custom Mode lets you take full control by writing your own AI processing instructions
- Both Super and Custom modes enhance AI processing capabilities with context awareness, providing additional possibilities
Learn More
Switching Modes
Jump between modes easily with: Keyboard Shortcuts, Auto-Activation Rules, & Deep Links.
Customizing Modes
Want to tweak a built-in mode beyond its basic settings? Create a Custom Mode to get the exact functionality you need.